How to grind grains to make your own flour when SHTF
11/15/2018 / By Zoey Sky
Even if things are relatively quiet, you can still benefit from knowing how to make flour from various kinds of grains. After all, food security is crucial for every prepper. Knowing how to make your own flour also gives you access to a final product that’s more nutritious and flavorful than store-bought flour. (h/t to BioPrepper.com)
Homemade flour basics
By milling grains at home, you can blend unique flours so you can make baked goods with “distinctive flavor, nutritional, and texture profiles.” The process is simple and won’t take too much of your time.
To grind grains, you’ll need equipment like:
- A food processor or a high-quality blender – These will do for most kinds of grains.
- A flour mill – Some grains will require heavier equipment like a flour mill.
- Mortar and pestle – This will require a bit more effort, but it’s good to have a backup.
- Spice mills or manual/electric coffee grinders – These alternatives will do if you don’t have a food processor.
- Small electric grinders – This kind of grinder is made specifically for home milling.
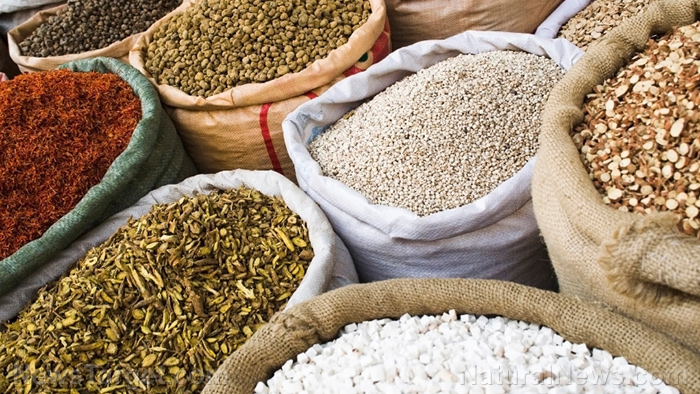
Choosing grains for homemade flour
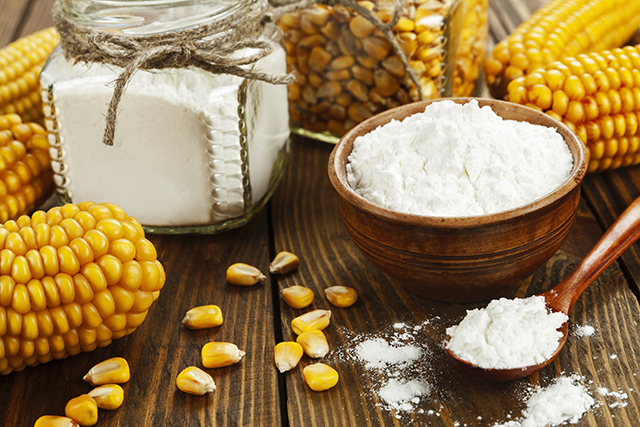
Traditional flours are often made from barley, rye, or wheat. Corn is also a popular grain used to make flour, especially if you want to make cornbread or corn tortillas.
If you want to make other kinds of flour, you can also mill ingredients like beans, nuts, rice, roots, or seeds. These alternatives will produce flour with unique flavors and textures. These substitutes are also good for people who want to avoid the gluten in barley, rye, or wheat.
However, if you’re using gluten-free substitutes, the flour you make will behave differently. Gluten is the protein that gives most kinds of flour elasticity, and it also helps them bind and rise. You can add xanthan gum or guar gum to other flours to mimic gluten, otherwise, their texture won’t be the same.
Here are some of the products that you can grind or mill to make flour at home:
- Arrowroot
- Barley – This will produce bitter flour, so combine barley with another ingredient or grain.
- Buckwheat
- Coconut
- Corn
- Millet
- Nuts – Your options include almonds, cashews, hazelnuts, macadamias, pecans, and walnuts.
- Oats
- Potatoes
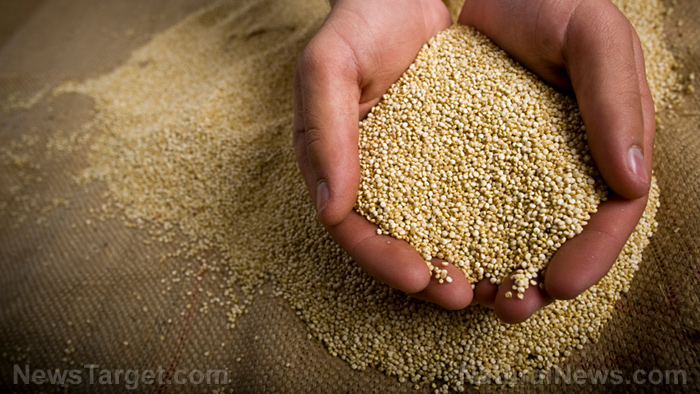
- Quinoa
- Rye
- Seeds – You can make flour from amaranth, flax, hemp, pumpkin, and sunflower seeds.
- Soybean
- Spelt – Spelt (Triticum spelta) is a grain that’s closely related to wheat. Spelt and wheat have similar nutritional profiles and they both have gluten.
- Tapioca
- Wheat
You can also make flour from other grains and ingredients, but how you grind them will depend on how hard they are. Unlike some beans, the options above can all be milled using a coffee grinder or food processor.
How to grind your own grains
Make the necessary preparations so you can keep making your own flour even after SHTF. Stockpile a manual coffee grinder or two, which you can find at flea markets, yard sales, or stores at an affordable price. Don’t forget to buy the necessary spare parts as well.
Don’t feel complacent just because you have a stockpile. It’s better to raise grains or alternatives like nuts or seeds so you can keep your family fed even during a disaster. Other crop options include corn, pumpkins, soybeans, and pecan or walnut trees. (Related: It’s not as difficult as you think: How to grow grains in your own backyard.)
Once you have your corn, grains, or seeds for grinding, mill them just as they are. You can also toast nuts or seeds to enhance the flavor of the flour.
Steps:
- Sift your product carefully, and make sure the product is clean and dry. Don’t start grinding until you’re sure the product is free from bugs, rocks, or other debris which can ruin your grinder.
- Fill your grinder or food processor only ? or ½ full. This way, the product will reach the blades and be ground equally.
- Grind until you produce smooth and fluffy flour.
- Open your grinder and pick out larger chunks. Keep grinding, or pick out all of the chunks then grind them in a separate batch.
- Repeat all of the steps until you’ve made enough flour.
- This step is optional, but you can sift the flour to get rid of the remaining chunks.
- Store the flour in an airtight container in a cool, dry place, like the freezer or fridge. While homemade flour is fresh and free from various preservatives, it won’t last long so it must be stored properly.
Additional flour-making tips
If your grinder sounds like something’s blocking it, grains, nuts, or seeds could be stuck under the blades. Once you remove any blockages and it’s still making the same sounds, try to pour out some grain from the grinder before you start grinding again.
Clean your equipment regularly. Freshly-milled flour will go rancid quickly. You don’t want to make a fresh batch of flour if there’s old flour stuck in your grinder that will taint a new batch.
Don’t over-grind nuts. Doing so will produce nut butter instead of flour. When milling nuts, carefully pulse them until you produce nut flour.
Commercial white flour contains almost no fiber and nutrients. Learn how to make fresh, fiber-rich, and nutritious flour today so you can have access to homemade flour even after SHTF.
You can read more articles about the best kinds of survival food to store in your stockpile at FoodSupply.news.
Sources include:
Tagged Under: backyard gardening, clean foods, corn, crops, emergency food, food safety, Food storage, food supply, grains, green living, harvest, home gardening, homemade flour, homesteading, oats, off grid, organics, preparedness, prepping, preserving food, survival, survival food, survival gear, sustainable living, wheat