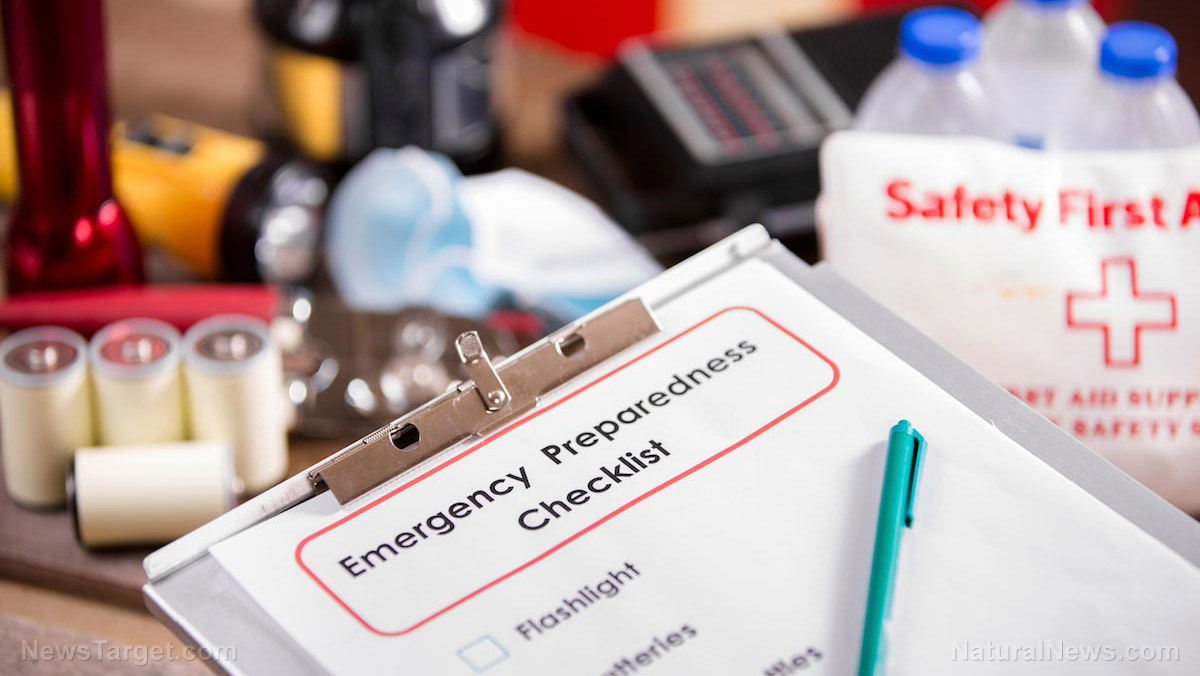
How to stockpile seeds for your survival cache
08/15/2018 / By Edsel Cook
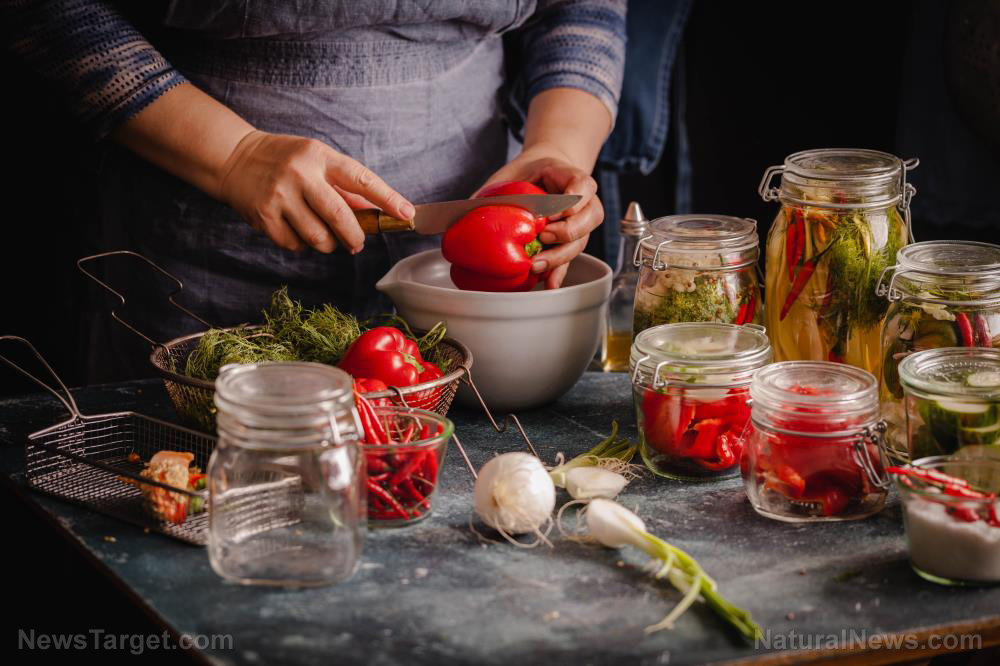
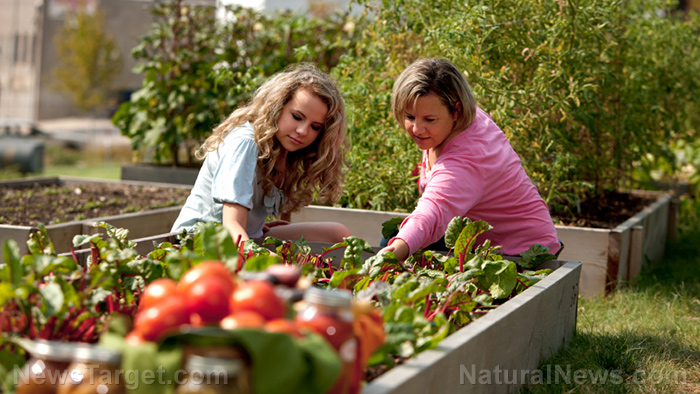
Seeds are always a welcome addition to a prepper’s stockpile. An article on Skilled Survival covers the basics of harvesting and preserving seeds.
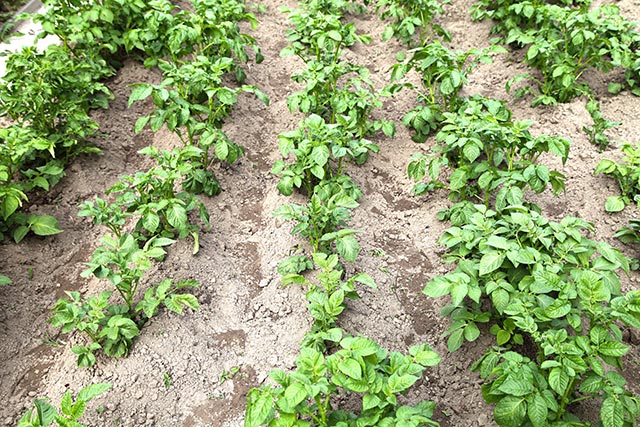
In order to save seeds, you have to harvest them first. Collect the seeds you want to preserve. Many fruits and vegetables will have different kinds of textures; store their seeds in different parts. Each example will require a tailor-made approach.
After getting your seeds, you will have to wash them. Again, different kinds of seeds will need different treatments.
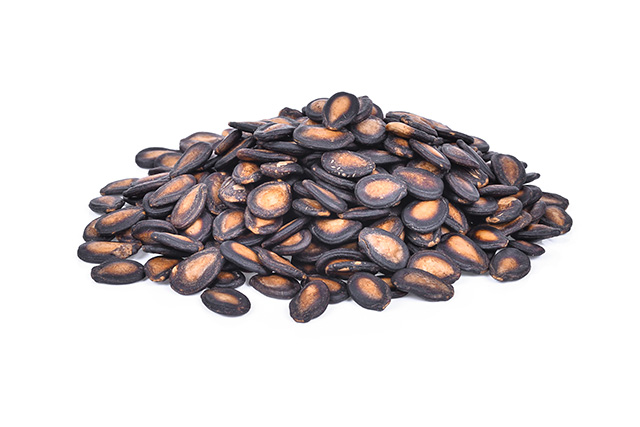
For instance, for pumpkin and squash seeds, remove as much of the pulpy membrane as possible. Tomato seeds require even more scraping and washing. Cucumber seeds on the other hand only need a quick wash, while pepper seeds are good once you take them out of the drupe.
Once your seeds are cleaned and ready, it is time to dry them. Drying will help preserve them for future use. (Related: A guide to building your own solar dehydrator.)
Preserving your seeds
The two main ways of drying seeds are the air drying method and the assisted drying method. Each has its own advantages and disadvantages.
The air drying method takes the longest. Make sure you have washed your seeds thoroughly to avoid any chances of molding. Start by patting the seeds until they are completely dry. Then set down butcher paper or wax paper; do not use paper towels because they trap liquids that encourage the growth of molds. Lay out the seeds in an even and single layer. Avoid stacking them atop of each other; doing so can cause molding. Once you have set up your seeds on the drying paper, pick a dry spot with no humidity. Try for a place that has access to strong and steady amount of sunlight. The air drying process can take anywhere from two days to a week. The size and type of seeds determine the length of time for them to dry. Sunlight accelerates the process.
If you want a speedier process, there is assisted drying. It uses drying devices like food dehydrators or ovens. While faster, it also has a higher chance of damaging the seed. Assisted drying is good for large seeds such as those of beans, pumpkins, and squash. Use the lowest setting of the food dehydrator or oven. If you are using an oven, leave a small opening in its door. For both devices, give the seeds as much room and time to dry as possible. Dedicated seed driers are expensive and specialized, but you can opt for one if you have the money to spare and think you will need such a device.
A paper envelope is the best seed storage method
While waiting for your seeds to dry, put some thought into your storage method. There are a number of ways to keep your seeds safe.
Ziploc or zip-top bags are probably the first thing that come to mind. They are cheap, spacious, and easy to store. They are also good at organizing seeds and come in many different sizes. However, these bags should only be used on a temporary basis. Once moisture gets into the bag, the seeds will rot.
Airtight containers are essentially a bulkier version of Ziploc bags. They are good for storing large amounts of seeds for a short amount of time.
However, the best storage method is also the simplest: Put the seeds in a paper envelope that you can get from any store. Envelopes permit air to enter and exit. Moisture in the air will also be able to escape the envelope and not get trapped inside with the seeds. They are basically flimsier but cheaper and more effective Ziploc bags.
Expand and improve your prepping skill set through more articles at Preparedness.news.
Sources include:
Tagged Under: dehydrator, emergency food, food freedom, food independence, food security, food supply, Homestead, homesteading, preparednesss, prepper, prepping, seed drying, seed storage, seeds, Stockpile, survival, survival food, survivalist